Showing posts with label Art. Show all posts

Saturday, October 12, 2013

DIY Botanical Art Prints with Frames for $13!


I was so thrilled when I found these frames at target, I got all 4 for $13.01(with tax here in CA)
Room Essentials® Format Frame 6 Pack - 8.5x11
these look similar to the ones I bought. Oh how I wish I had money for that camera I've been after. 

Anywho, I bought eight of them and took them home to start on an art project to fill up the space on my staircase wall.

I ended up searching for a dictionary page that looked old enough/discolored enough to print from my home. I needed something that I wouldn't have to print and then age by hand. I ended up finding this one that sufficed quite nicely:
you can find it here at The Graphics Fairy

I then found these botanical prints online scattered through out the web at a mix of websites. I suggest that you search botanical prints at the graphics fairy while your grabbing the dictionary page, they have some beautiful ones.

Once you have all the images you want to use, open the dictionary page into Photoshop(if you don't have the money for Photoshop then Gimp is an awesome free application I use to use)

Re-size the image to 8.5x11 inches(super important since we want it to be the exact size of our printer paper)
Then copy the image of whatever botanical print you like and paste it on top(it should paste centered on the image already)

After it is opened it should look like this:

Half the work is already done for us, now all you have to do is layer them to get the effect of the flowers printed on top of the paper.

To achieve this effect you select the flowers layer(Layer 2 in my case) Then you click the drop down menu above it that should say "Normal". Scroll down to the effect "Multiply" and click it.


Once you have selected "Multiply" it should look almost transparent on top of the dictionary paper just like the image below.


And the rest is honestly just as easy as the first steps. Just print your new image onto a thick matte photo paper with no margins and it looks lovely inside its frame.


Voila! Beautiful art that is cheap, personal, and fun to make.


Tuesday, October 1, 2013

DIY Message Board

On my trip to target I found a cheap frame on sale that was 17x11(perfect for two standard 8.5x11 papers). Of course I had to have it, so it came home with me and I got to thinking of how to create a cheap message board that looked cute and matched my style)


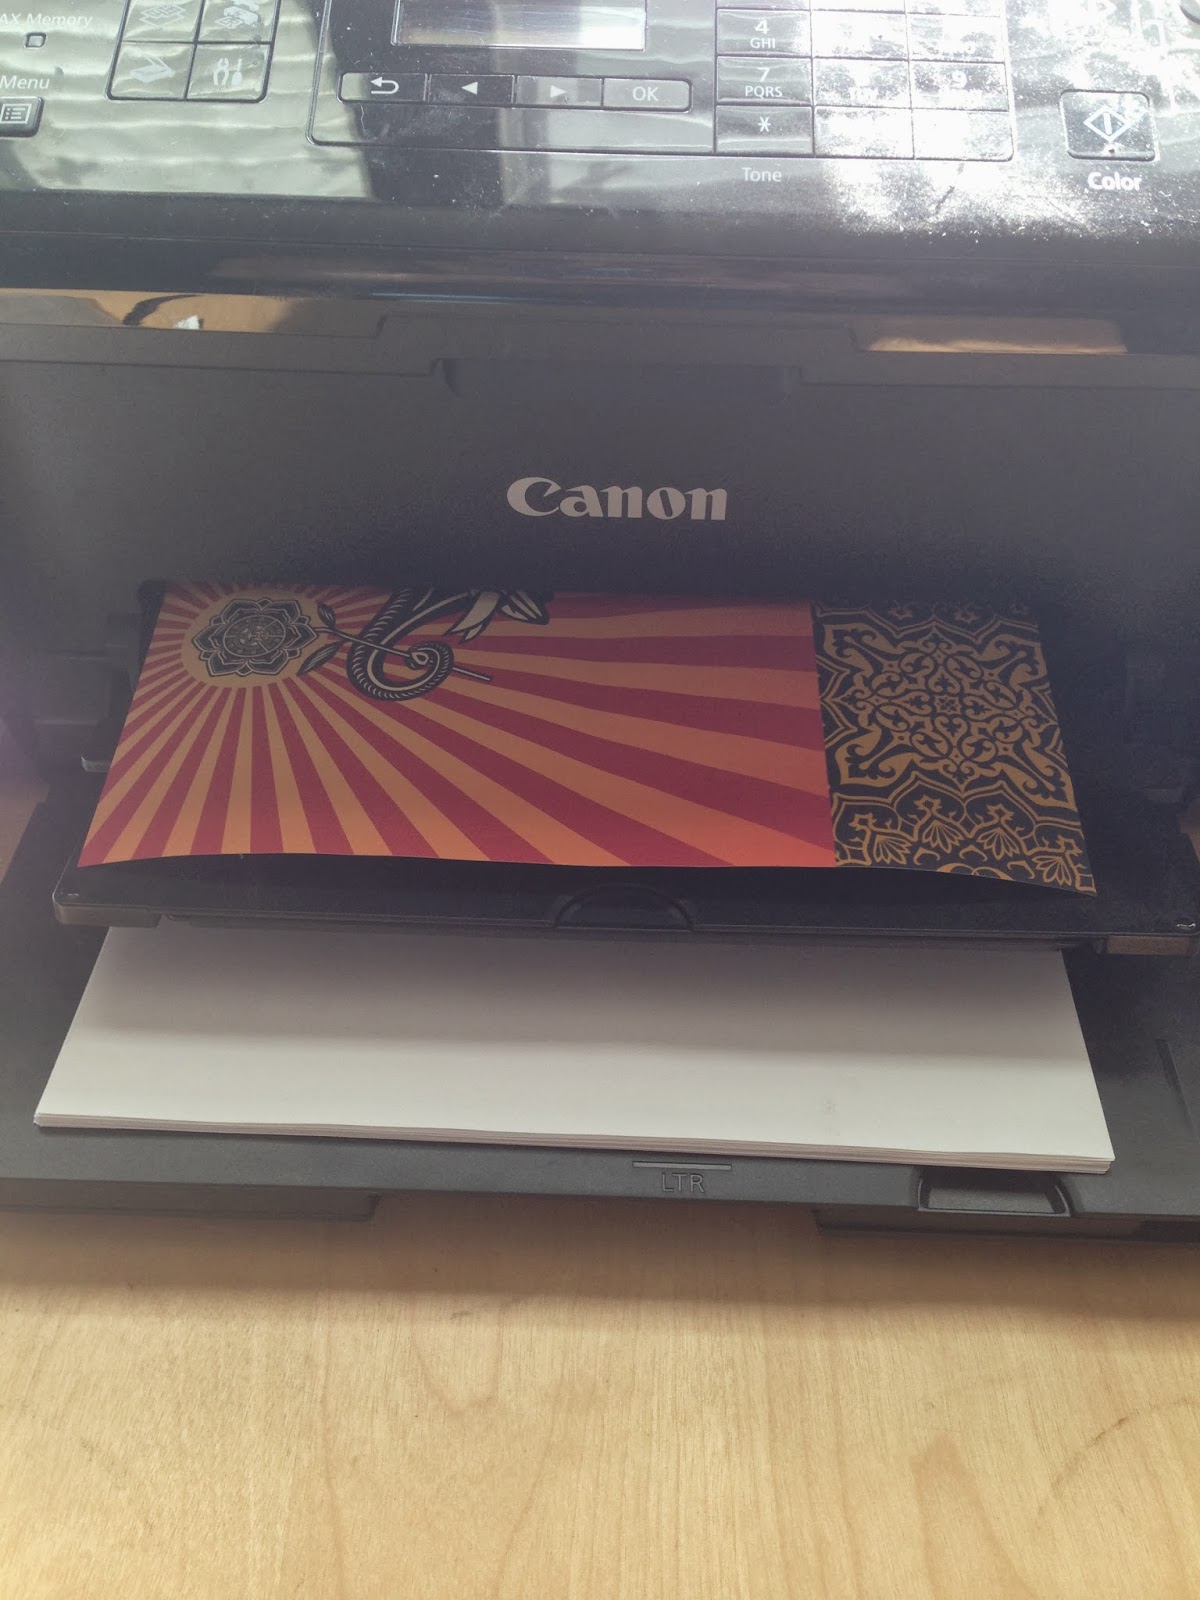
I started by finding a design that inspired me for the top half of the frame, I chose the Peace Elephant from Shepard Fairey's line of amazing prints. It is a beautiful photo, and being an artist I LOVE his work so much(he has caused my horrible addiction with his retail clothing line that I'm also in love with) 


Make sure when your printing that you set your printer to print without any white border(my cannon will only do this on thicker paper such as the matte photo paper I'm currently using)


Then find a lovely piece of scrap book paper that is light enough and not too dizzy(we want to write over this part)


Cut the paper down to 8.5x11 and pop it into the frame to enjoy and write on. I am currently using sharpies with a Mr.Clean magic eraser to wipe the messages off, works perfectly. 


I think it fits rather nicely with my decor I already have in the entryway.

DIY Iphone 5 case

So I am finally feeling a bit better and I decided to post two DIY projects I had tackled since I've been sick.
The first one is my Iphone's new fancy case(sorry for the mirror picture, I really need a new camera)


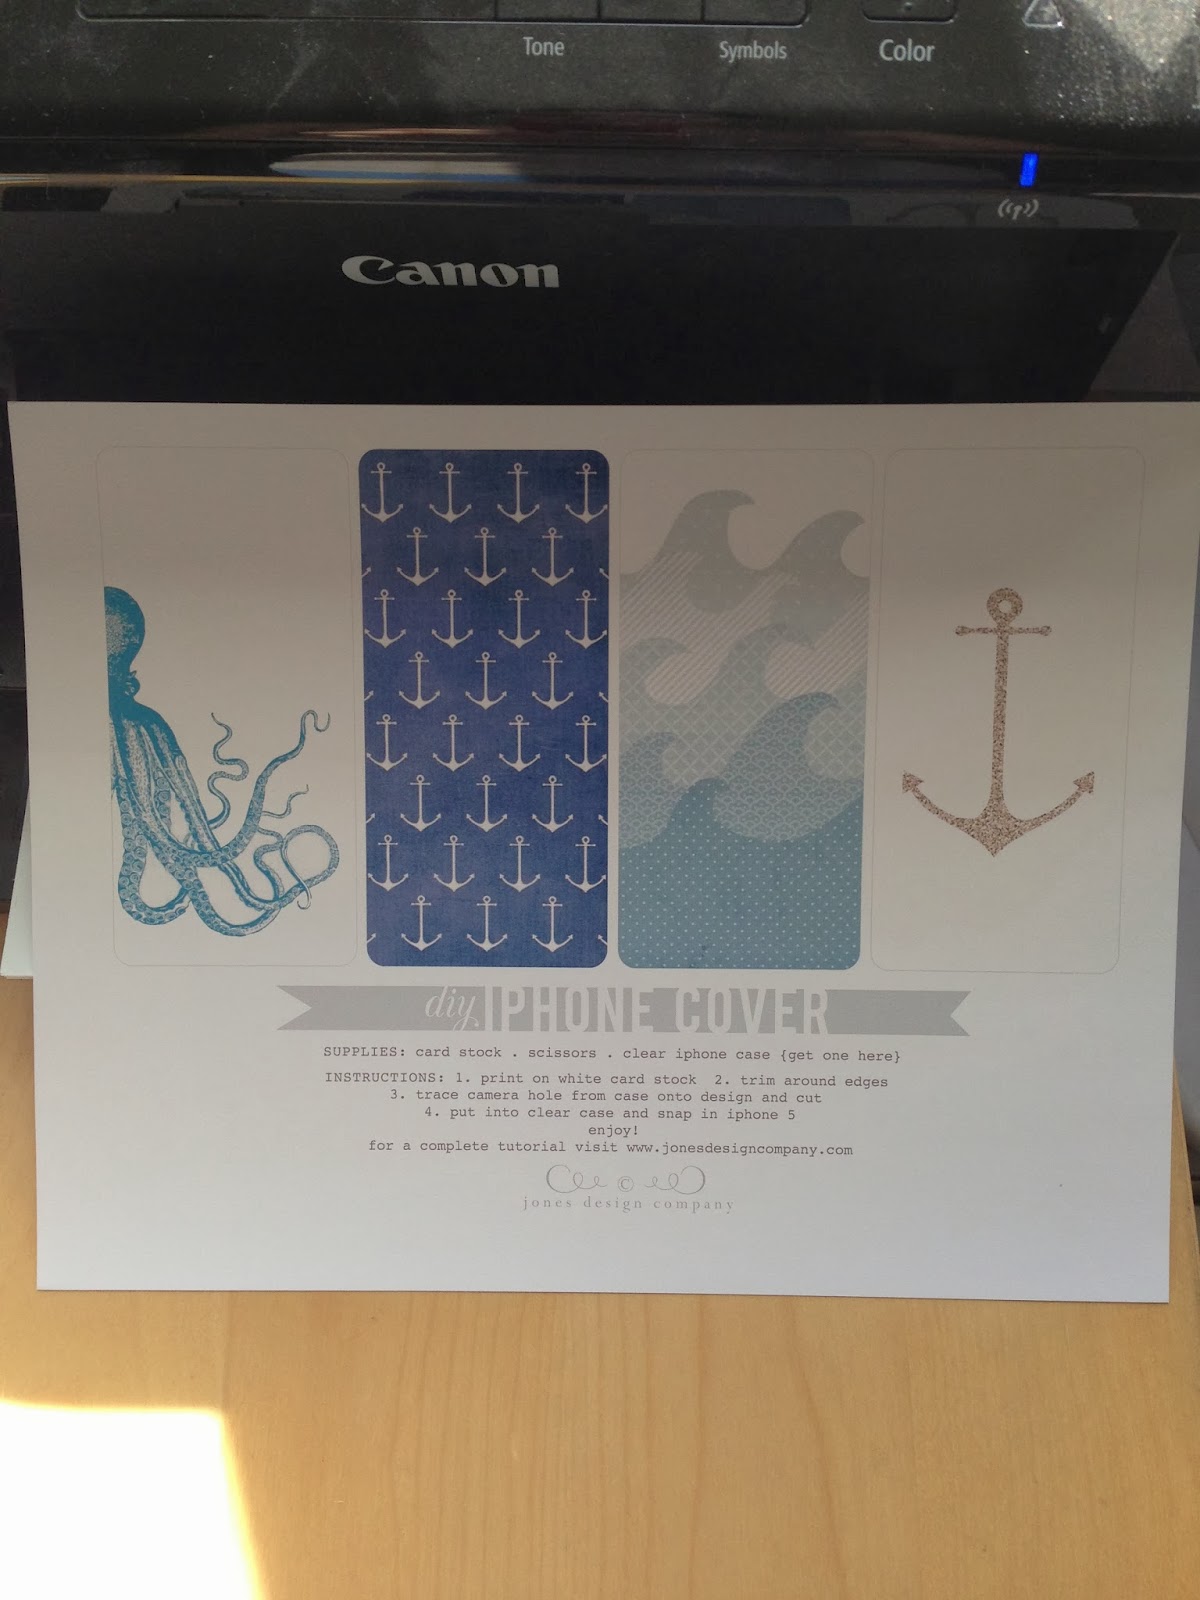
So in essence its a really easy tutorial, I found the design for my case on this amazing design website I love

To start off I bought an inexpensive clear iphone case like the one here

Then I printed out the designs on a matte photo paper and traced/cut the case's camera hole out

Its super simple to do, and its really cheap for the case itself. I have also taken it into Adobe Photoshop and designed a whole bunch of other cases to cut out. But honestly, that anchor design is just too cute.